Wednesday, June 02, 2010

Project: Robot Party Good Stuff

No robot party is complete without a popcorn making robot. My brother owns this awesome popcorn machine and was nice enough to haul the thing up to my house so I could robotize it. I basically just added a "skirt" of poster board, arms and a head.

Here is where he lived during the party because he requires an energy source. Unfortunately the power was out for the first hour! But luckily it was restored and my brother helped serve up the robot's tasty snack for the revelers. Sorry for the bad photo. Not every robot is as photogenic as my kid.

To make the head I just put a brick inside the box and set it on top of the machine.

I used hot glue to tack magnets to one end of each slinky and stuck it to the metal top of the popcorn machine. I cut out the "hand" shapes and taped them on.

Luckily Mr. Lemon runs a vegan baking company and he put together this phenomenal cake. It was lemon cake with vanilla icing. The red pipes are Twizzlers and the gumdrops were from Target (and surprisingly vegan).

There was hardly any cake left over and he made plenty. It was so good even my veganophobic family members kept coming back for more and more.

These favor bags were a huge hit with the kids. I found another cool robot font and printed out the names of all the kids coming to the party (and "Lee-rah" "Ry-nan" will get theirs sent to them soon, I promise). The head is just a circle cut in half; curlers from the dollar store for legs; lots of stickers; some pipe cleaners; Dymo labels; black bags from Michael's.

They're like a little army. I posted more pics on my flickr and please post photos to the group I started if you have any robot party images of your own.

Friday, May 28, 2010

Project: Special Robot Dress for the Robot Party (and free pattern)

I bought the fabric and trim for this dress long before I had any idea that I was going to throw a robot party extravaganza. But since it takes me months to get around to any of my sewing projects, the robot party was a fresh idea when I was putting it together and it just seemed right to do some applique. The fabric is a white dotted swiss with yellow dots that I just adore.

The pattern is a vintage Simplicity pattern 6241 from 1974 (a great year, I must say). It was an absolute breeze to put together and it fits really well. As with most crew neck patterns, I had to take the collar down about 1". I also straightened out the curved lines at the side seams to make it more A-line.

The robot applique is my own design based loosely on the robots I was sewing for my Etsy shop back in 2006. I pasted the pattern below. You can read my applique tutorial in detail here. The embroidery is mostly a backstitch. I included the legs but as you can see, I used ric rack instead and it gives a really nice feel to the piece.

Monday, May 24, 2010

Project: Robot bib . applique tutorial

In the spirit of going absolutely crazy on the details for this party, I made a bib even better than last year's. I wanted something to fit in with the robot theme but I also wanted it to be a "2." I downloaded a bunch of cool fonts and then finally went with this one.

First, print out the number that best represents your kid's age. Make sure it's a good size to fit your bib (or shirt or whatever). Also iron some Wonder Under 805 to the back of your fabric. At the bottom of this post, I included a pattern for the shape I ended up using to make my number. What is pictured got manipulated to the point of no return so I traced it and scanned it in for anyone to use. It should be about 2" wide when printed.

Cut your shapes out. If you're using corduroy, make sure the nap is going in the right direction so that when you're wiping all that food off of it, it won't be too much of a mess. I like my nap downward pettable if that makes any sense.

Iron your shapes down so that they make your number. If you need some direction, take a look at your microwave, DVR, alarm clock, or just play around with it until it works.

If you iron really well with a really hot iron on both sides, your applique will probably last a year until you need a new one or it's so gross you throw it out anyway.

If you want a bib to last longer, use the zig zag stitch on your machine to tack all of the edges down. I go into great detail on this process in a tutorial you can read here. I highly recommend that you do a few practice runs to get the length and width of your stitches figured out.

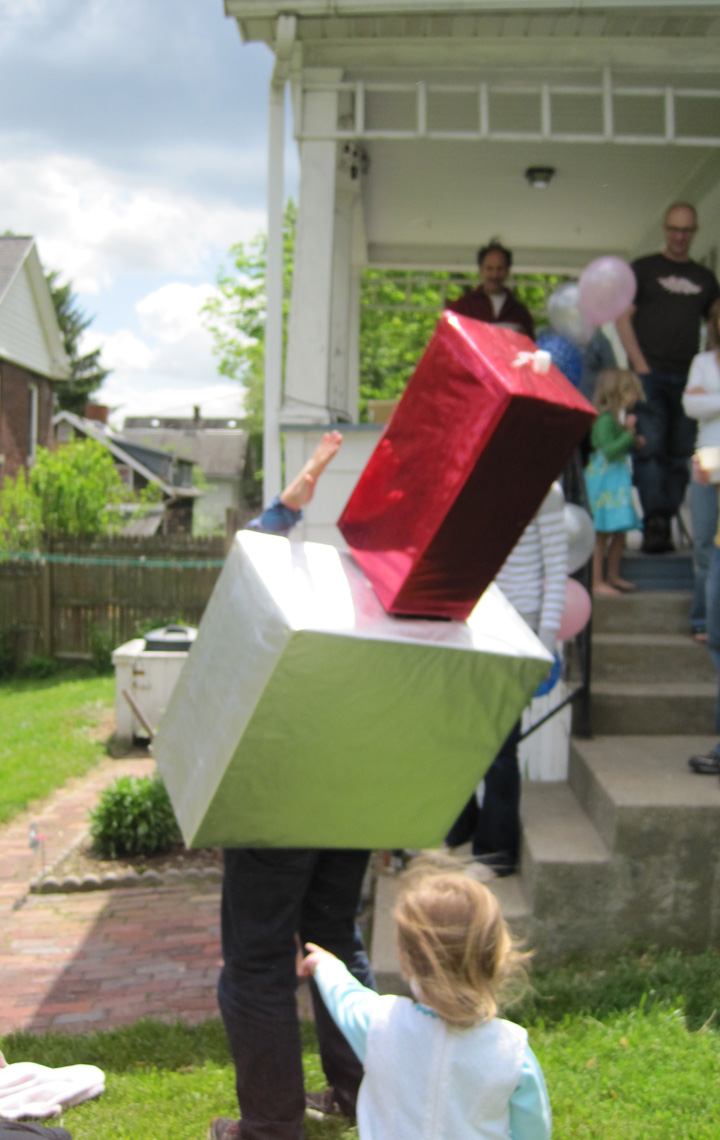
Enjoy with cake! More on the dress soon. Unfortunately it was freezing outside so we had to pair her cute robot dress with a long-sleeved t-shirt and leggings.

Friday, May 21, 2010

Project: Robot Pinata Tutorial and Subsequent Bashing

I don't feel that any party can be truly complete without a pinata. There is nothing more fun than beating the crap out of something that fits in with your theme. And who doesn't like large quantities of candy and junk food falling from a gaping wound? Here's how to make this gorgeous hunk of metal-inspired tissue paper and cardboard:

1. Since robots are usually squarish, use a thin box as the base. Tape up any seams so that it will be easier to cover but then use an X-acto knife to put large slits up the front and back so that it will have a convenient weakness during the beating.

Supplies for the foundation: box, 1 cup flour (or wallpaper paste), 1 cup water, strips of newspaper, 2 tbls. school glue

2. Use only one coat of the papier mache. Do one side then wait for it to dry before starting the back. Leave a huge hole in the top so that there will be a place to dump the loot.

3. Cut wide strips of silver tissue paper then cut 1/2" ruffles in all of the pieces. Use a brush to apply the adhesive so you don't get goop all over your hands.

Supplies: silver tissue paper, scissors, matte medium (or mod podge or school glue), older paintbrush

4. When all 4 sides are covered, cut tiny holes in the top of the box to insert wire for hanging.

Supplies: X-acto knife, wire

5. Thread the wire (about 12" for each piece) through the holes and wrap them very well. Put the loot in the pinata. Big Lots has great loot. Be careful not to put too much stuff in it or it will be too heavy.

6. Finish the top with 3 or 4 layers of the tissue paper and glue so that it will hold up to repeated beating.

7. Finally cut some slits in the sides and thread a slinky through each one. It may be easier to do this before you put all the loot inside and seal it up. Or you can just glue some arms to the sides or have no arms at all.

Then to decorate to maximum cuteness, you can use toilet paper rolls wrapped in plastic Christmas paper for the legs and use hot glue to attach some feet. Zadie helped me with the face and the belt.

Supplies: Slinkies from Target's dollar bins, random bits for features

8. Hit the pinata with a large stick until it busts open and the kids fly into a frenzy of grabbing treats. My brother suggested we put a blanket on the ground to catch the loot. That was a good idea. Mr. Lemon wrapped the end of the stick with a rag and duct tape. I guess he thought it would lessen the blow if the stick happened upon the head of another child. Luckily that did not happen. But check out how in this very shot the leg of the poor robot is flying through the air.

9. Gather the loot. Enjoy!

If you are sufficiently inspired, please let me know. I started a flickr pool for robot party ideas.

Tuesday, May 18, 2010

Robot Dance Party

The best part of Zadie's 2nd Birthday Party Robot Extravaganza was the Robot Dance Party. I grabbed a couple of boxes from work and covered them with wrapping paper from Christmas. As you can see, I cut out holes for his arms, taped on some pipe cleaners, and went to town with the hot glue.

All those stickers on the front were placed by me and Zadie. We spent almost an hour in front of the box. She would put a sticker on the right side and I'd do the exact same thing on the left. It gave us something to do, it was fun, and she really felt like she made the robot.

Add one hilarious teenage nephew and you're good to go.

The hardest part was choosing the songs. I spent a couple of hours searching but came up with a good 20 minutes. Here's the best of the playlist:

Everybody Dance Now (I had heard this story on NPR by this guy who said all children went nuts when they heard this song. I thought I'd do the same experiment. Different results and not very roboty but oh well).

Most of the Yo Gabba Gabba CD.


The only bad thing was that the power went out at exactly the same time the party was to start! Luckily it came back on just as we finished the cake.

Monday, May 17, 2010

Project: Robot Party

A full week of non-stop Robot Party action.

Day 1: Robot Dance Party. A little info on how to make the costume and a great robot dance mix.

Day 2: Robot Pinata. Tutorial and beating.

Day 3: Robot bib . applique and tutorial.

Day 4: Robot dress . applique (and free pattern)

Day 5: Robot goodness . like cake and popcorn and party favors:

Popcorn making robot

Vegan robot cake with special powers

The army of robot gift bags

Friday, May 14, 2010

Project: kids clothes week day 5

I finished up my little cross-stitch gator today. I messed it up in a few places. What was I thinking trying to do teeny tiny sewing while Zadie was hosting a tea party? I pulled out a few rows of stitches and made do with the rest. It looks like a gator and she loves it so that's all that counts in my book (apologies to the designer). I'm going to run the same purple piping around the edges of the pocket but I think I'll have to line it first. You can see gators through the holes in the fabric. I had never stitched on that kind of cloth before but I really liked it.

Zadie and I also spent some time this morning picking out fabric for another pair of pants. I love this stuff. It is Riley Blake.

In other news, Project: Project is going to be the favorite blog all week over at We All Sew! It's a huge honor to me. Just check out the great company I'm in.

So that's it for kids clothes week. I had high hopes but I did finish one heck of a cute dress, one pair of amazing pants, and am loaded with inspiration from checking out the flickr pool.